Step 1:
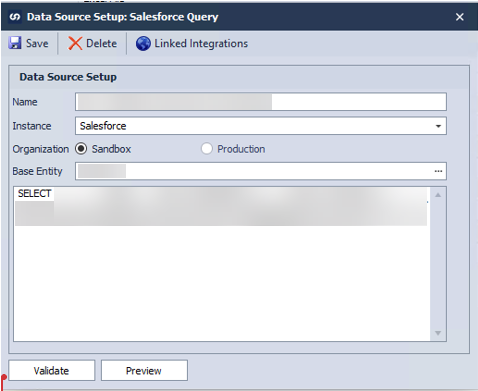
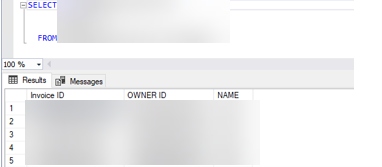
Identify Necessary Fields and Objects with SOQL Query The first step in this integration journey involved identifying the essential fields and objects required for the update. Through a well-crafted SOQL (Salesforce Object Query Language) query, I obtained the OwnerId, Name, and Invoice ID. These parameters are crucial for linking Salesforce records with their counterparts in GP.
Step 2:
The next step was to set up a corresponding table in SQL, inside clients database. I expanded the Tables section, created a new table, and listed down all the column names along with their respective data types. This laid the foundation for seamless data transfer between Salesforce and GP.
Step 3:
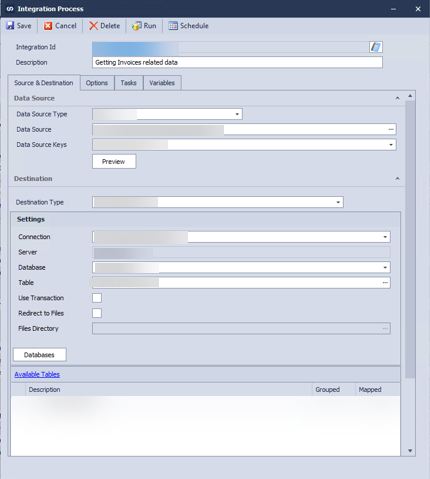
Configure SmartConnect Integrations: Returning to eONE SmartConnect, I initiated the creation of two integrations – one for behind-the-scenes data retrieval and another for the actual update.
3.1 Behind the Scenes Integration:
Utilized SOQL as the data source to fetch necessary Salesforce data: Employed the Microsoft SQL table as the destination, linking it to the table created earlier. Mapped all relevant fields to establish a connection. Executed the integration to set up the necessary pointers.
3.2 Data Update Integration:
Configured SQL query as the data source, extracting data from the SQL table. Selected Salesforce as the destination, ensuring a seamless connection. Matched the Record ID (Invoice ID) to synchronize records. Set a Salesforce Status field indicate the transaction was imported, either directly if it was a list column or using a local constant if not.
Step 4:
Test and Execute Before deploying the integration in a live environment, it's essential to conduct thorough testing. To simulate real-world scenarios, I checked that the integration was correctly updating the Status field in Salesforce, so I knew it was a success.
Thank you for reading this week’s blog. I will be back with another interesting task for the next weeks blog!

